Setting Up HDR (HewDraw Remix) on Steam Deck

HewDraw Remix, or HDR for short (not to be confused with High Dynamic Range), is – as the GitHub repository explains – “a free to play fan-made modification of Super Smash Bros. Ultimate.” The README goes on to mention “various techniques from previous Smash games are added to create a fresh experience that blends the design of the older games with the new, along with plenty of new moves and balance changes to keep the experience unique.” In other words, one could say HDR is the Project M for Smash Ultimate.
Getting HDR installed and running on the Steam Deck can be a bit of a convoluted process. That’s where this guide and my script will come in handy – to make it as easy as possible for you.
This is the first of a two-part series guide. The next part will go over netplay. For now, though, let’s just get HDR up and running.
Requirements
You will need a hackable Switch with the necessary homebrew installed to be able to dump your Smash Ultimate copy along with the latest 13.0.2 update and any DLC you might have. There are plentiful resources out there to get started on dumping your Switch games; Boiling Steam is an example if you’re on Linux desktop (although, the guide is slightly outdated). There’s also this guide.
You’ll need the following files dumped from your Switch and transferred to your Deck:
- Smash Ultimate base game; usually ends in .nsp
- update 13.0.2
- any DLC that you have installed
prod.keysfile
A keyboard and mouse will also make your life a lot easier during the first time setup.
Next, we’re going to need the latest version of Yuzu before development was ceased – version 1734. Finding this can be a bit tricky, as a lot of mirrors have been taken down due to DMCA notices. As of the time of writing this, this link still works, but it could be taken down at any time. Click the Download button to download the AppImage. Save the AppImage anywhere on your desktop.
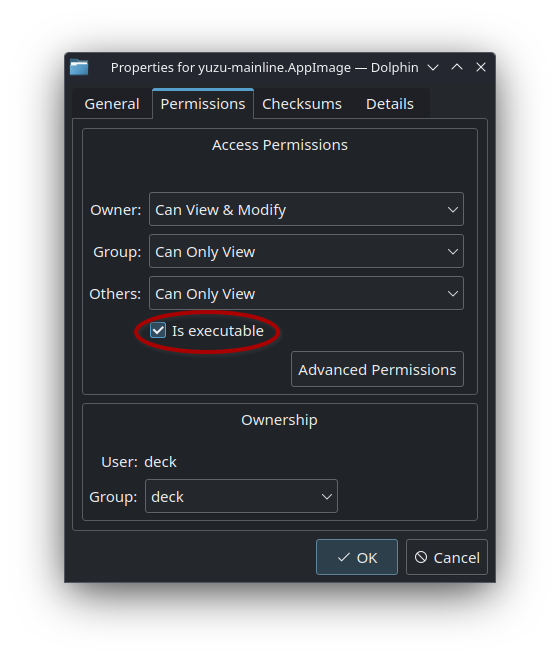
Yuzu should already be marked as an executable, but in case it isn’t, right-click the AppImage and go to Properties. Ensure the “Is Executable” checkbox is checked in the Permissions tab.
1. Configure Yuzu
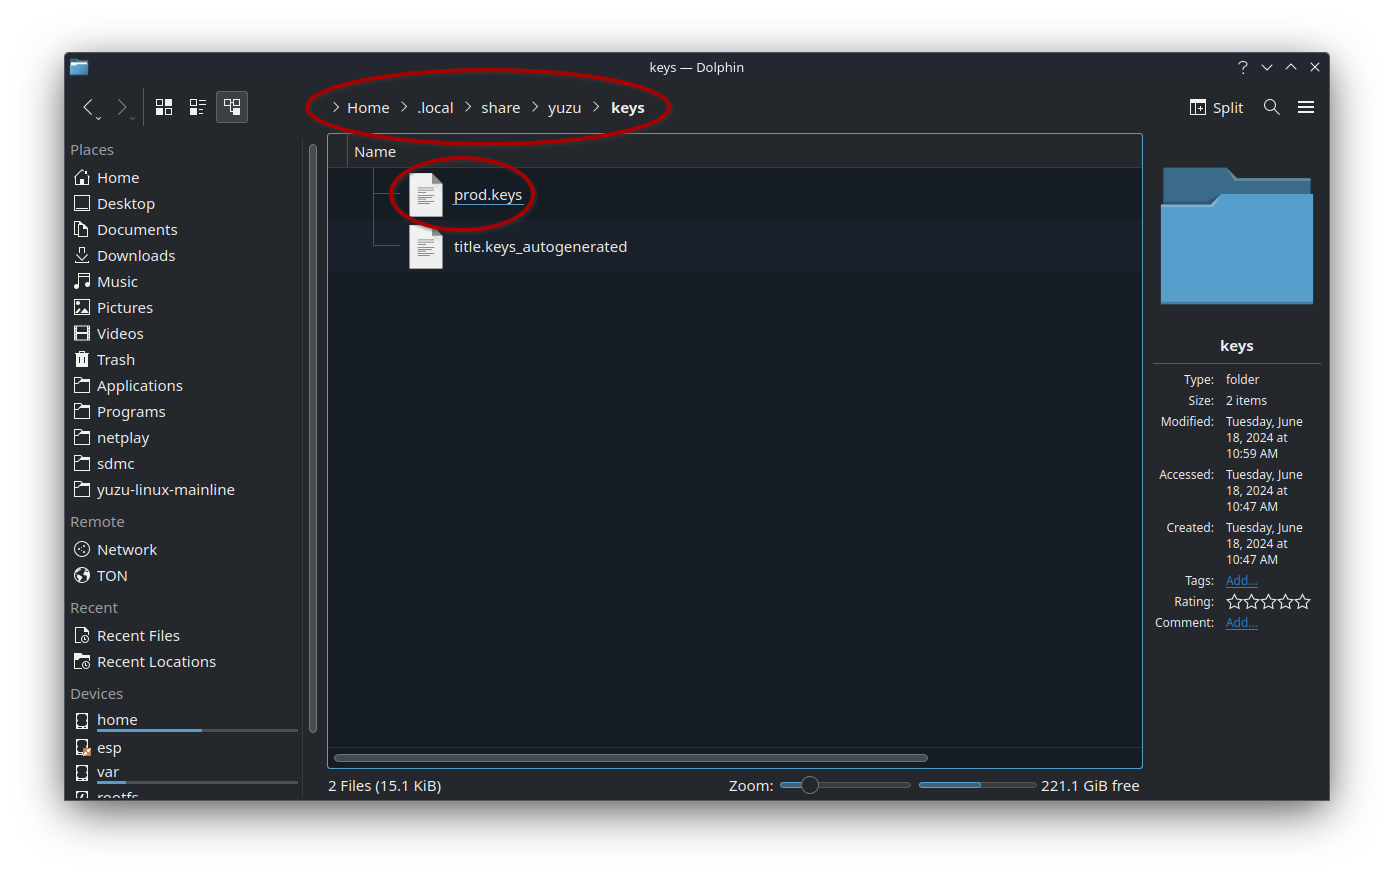
Open the AppImage. Yuzu will complain it can’t find the prod.keys file. That’s fine. Go to File -> Open yuzu Folder. Go to the keys/ folder. Copy your prod.keys file to this directory. Close Yuzu, then open it back up again. If you don’t get any messages, you should be good to go.
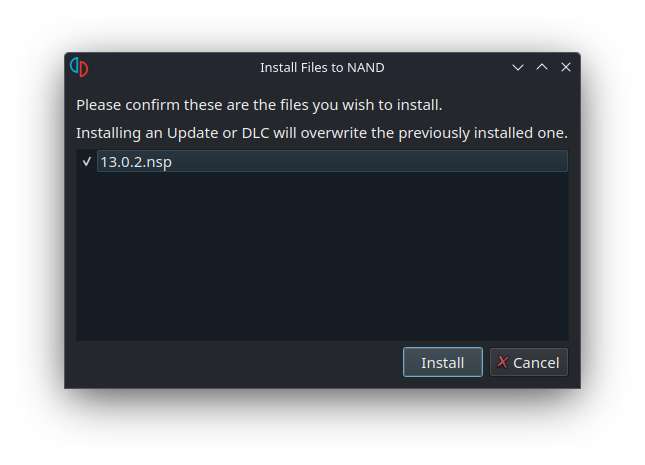
Add the path containing your Smash Ultimate dump by double-clicking the main Yuzu window and navigating to the directory containing it. Go to File -> Install Files to NAND… First, select your 13.0.2 update dump. After installing that, repeat the process for installing any DLC you might have dumped.
2. Get My Script
Head over to my GitHub repo. Scroll down to step 3 under “How to Use”. Right-click the download link -> Save link as… -> save the file to your desktop.

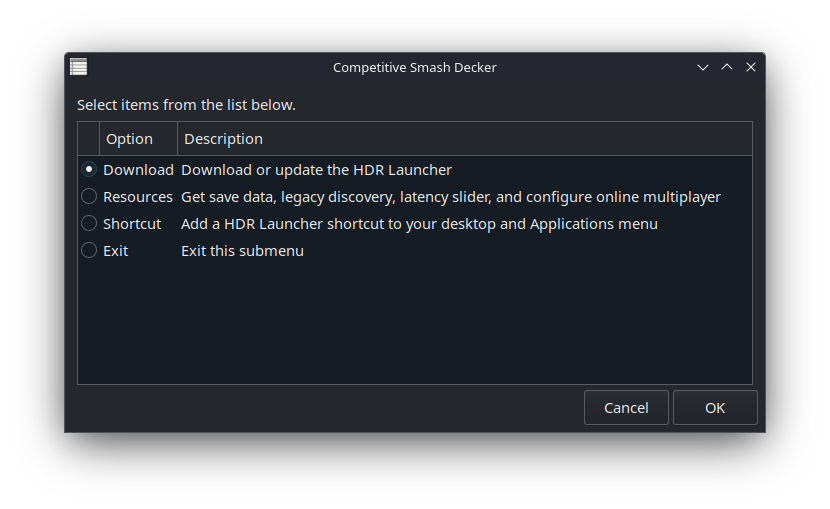
Double-click the .desktop file and click Continue to proceed. Go to HDR. Select “Download” from the submenu. This will download the latest AppImage of the HDR Launcher.
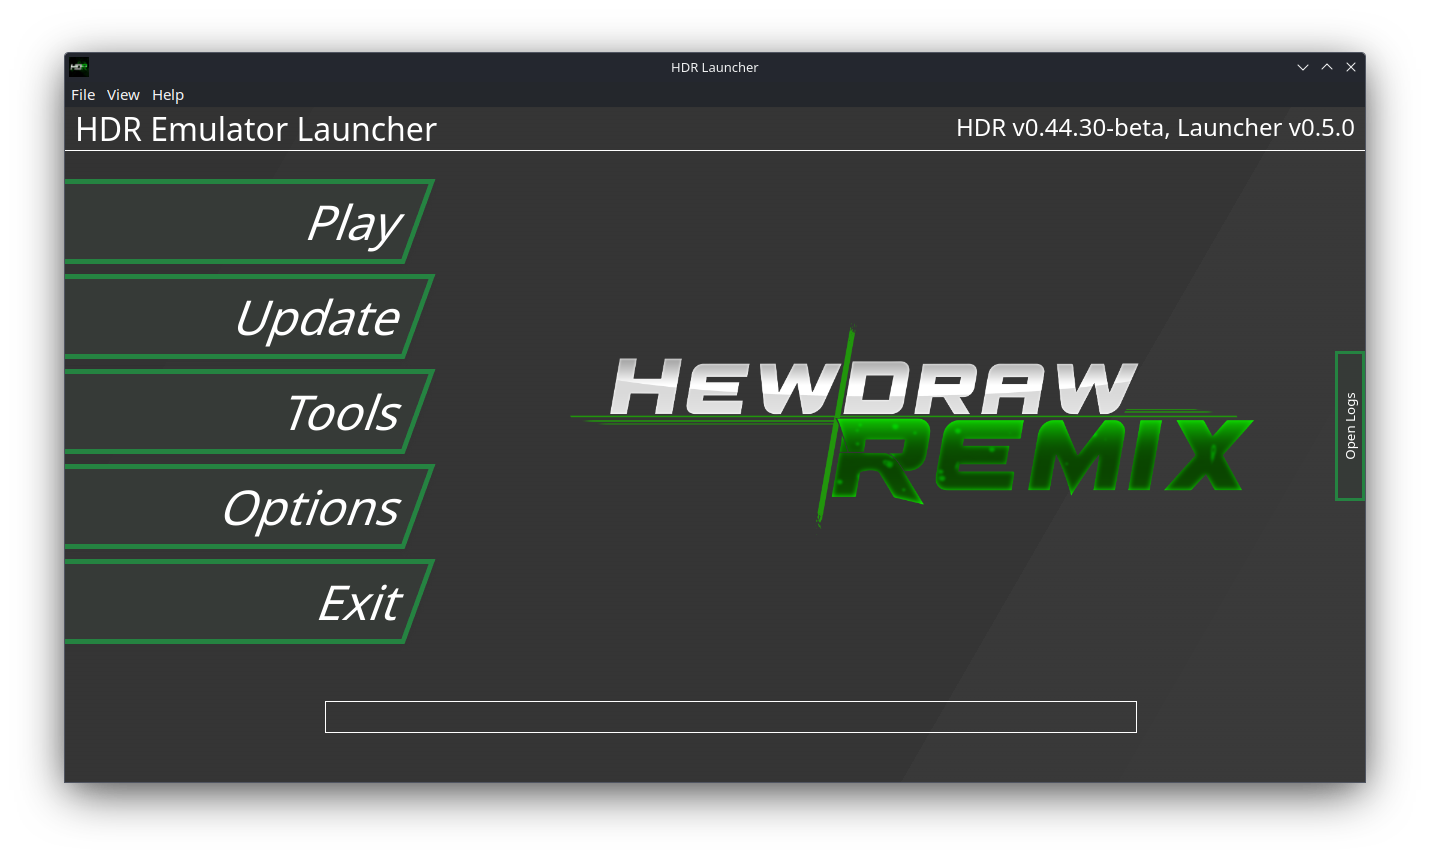
Next, with your file browser, navigate to ~/Applications/HDR/. Double-click the AppImage to run the HDR Launcher. You will be asked to provide the emulator executable file – which, in our case, is Yuzu 1734. After that’s set, you’ll be asked to set your SD card path. Set this to ~/.local/share/yuzu/sdmc/. Note that you may need to show hidden files by right-clicking the file manager and checking the appropriate option to see this path.
Ignore the error that pops up after your paths have been set. Click “Install HDR”. Give it a few minutes to download and install. From here you can:
- launch Yuzu
- update HDR as needed
- install the nightly build of HDR
- install specific PR builds
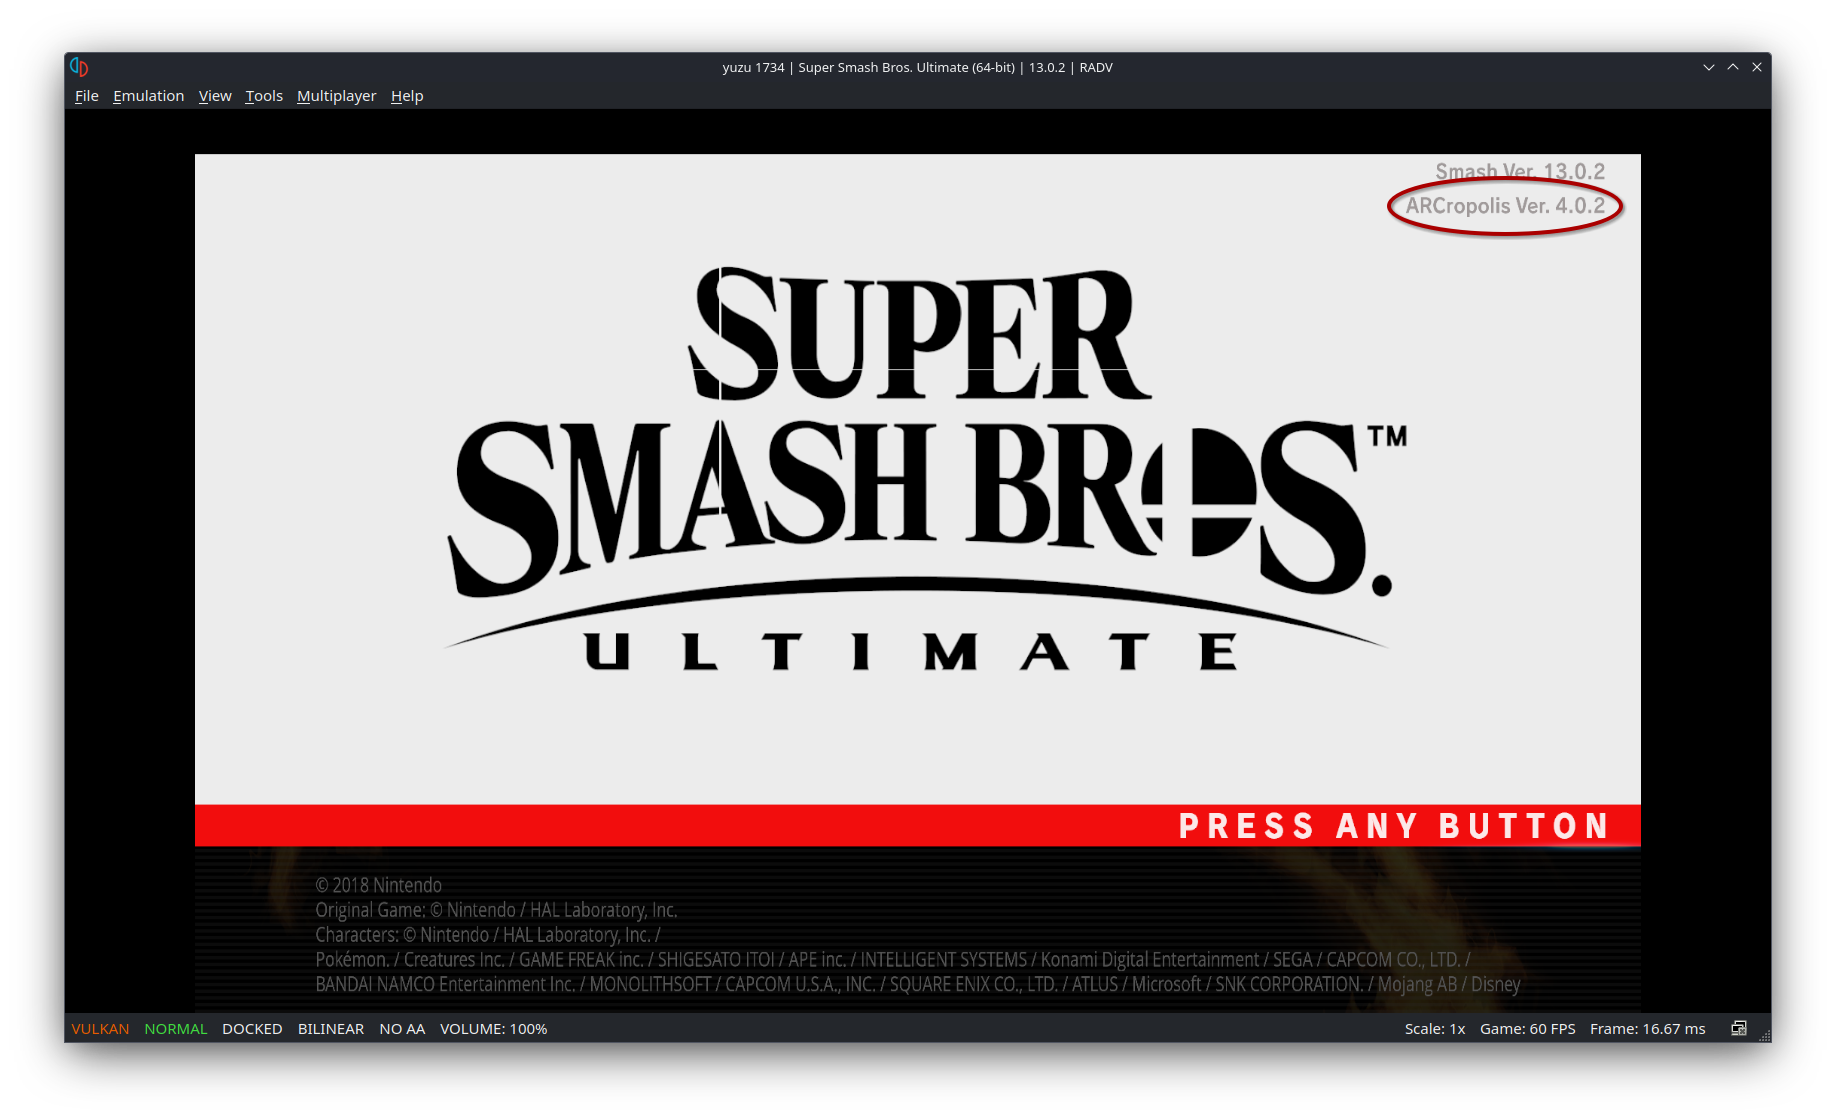
Select “Play” to launch Yuzu. Run Smash Ultimate. It won’t seem like anything’s changed. But keep an eye on the splash screen. If you see “Arcropolis version”, then we’re ready for the next step.
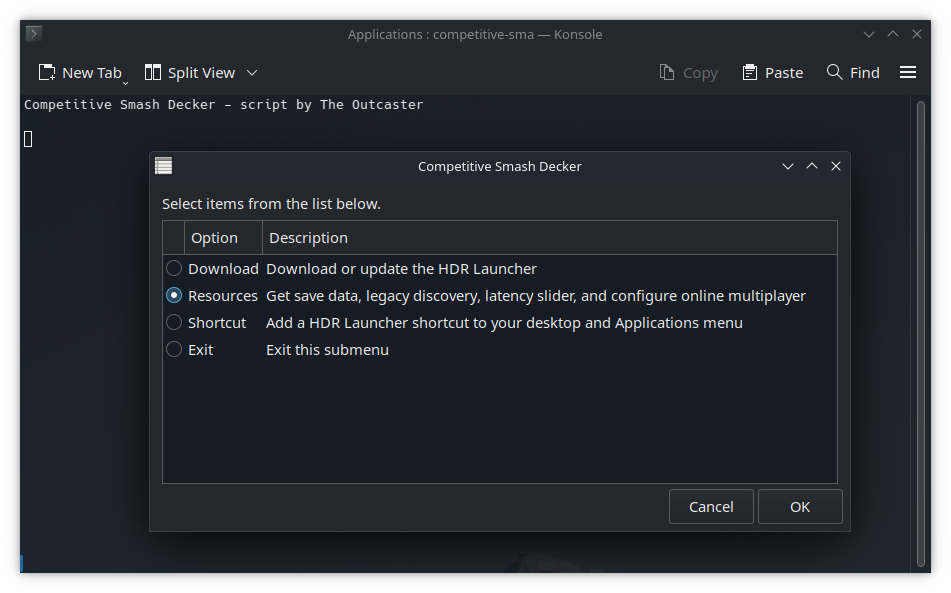
With my script still open, and still in the HDR submenu, click “Resources”, then click OK. The script will attempt to do the following:
- add the
legacy_discoveryfile needed for HDR to properly work - download and extract a 100% save file with pre-configured rulesets
- download the latest version of the Yuzu latency slider
- configure online multiplayer settings
After it does that, you’ll be asked if you want to download a pre-configured template with the graphics settings and Steam Deck controls. If you’re on the Deck, click Yes. Otherwise, if you’re on Linux desktop, click No.
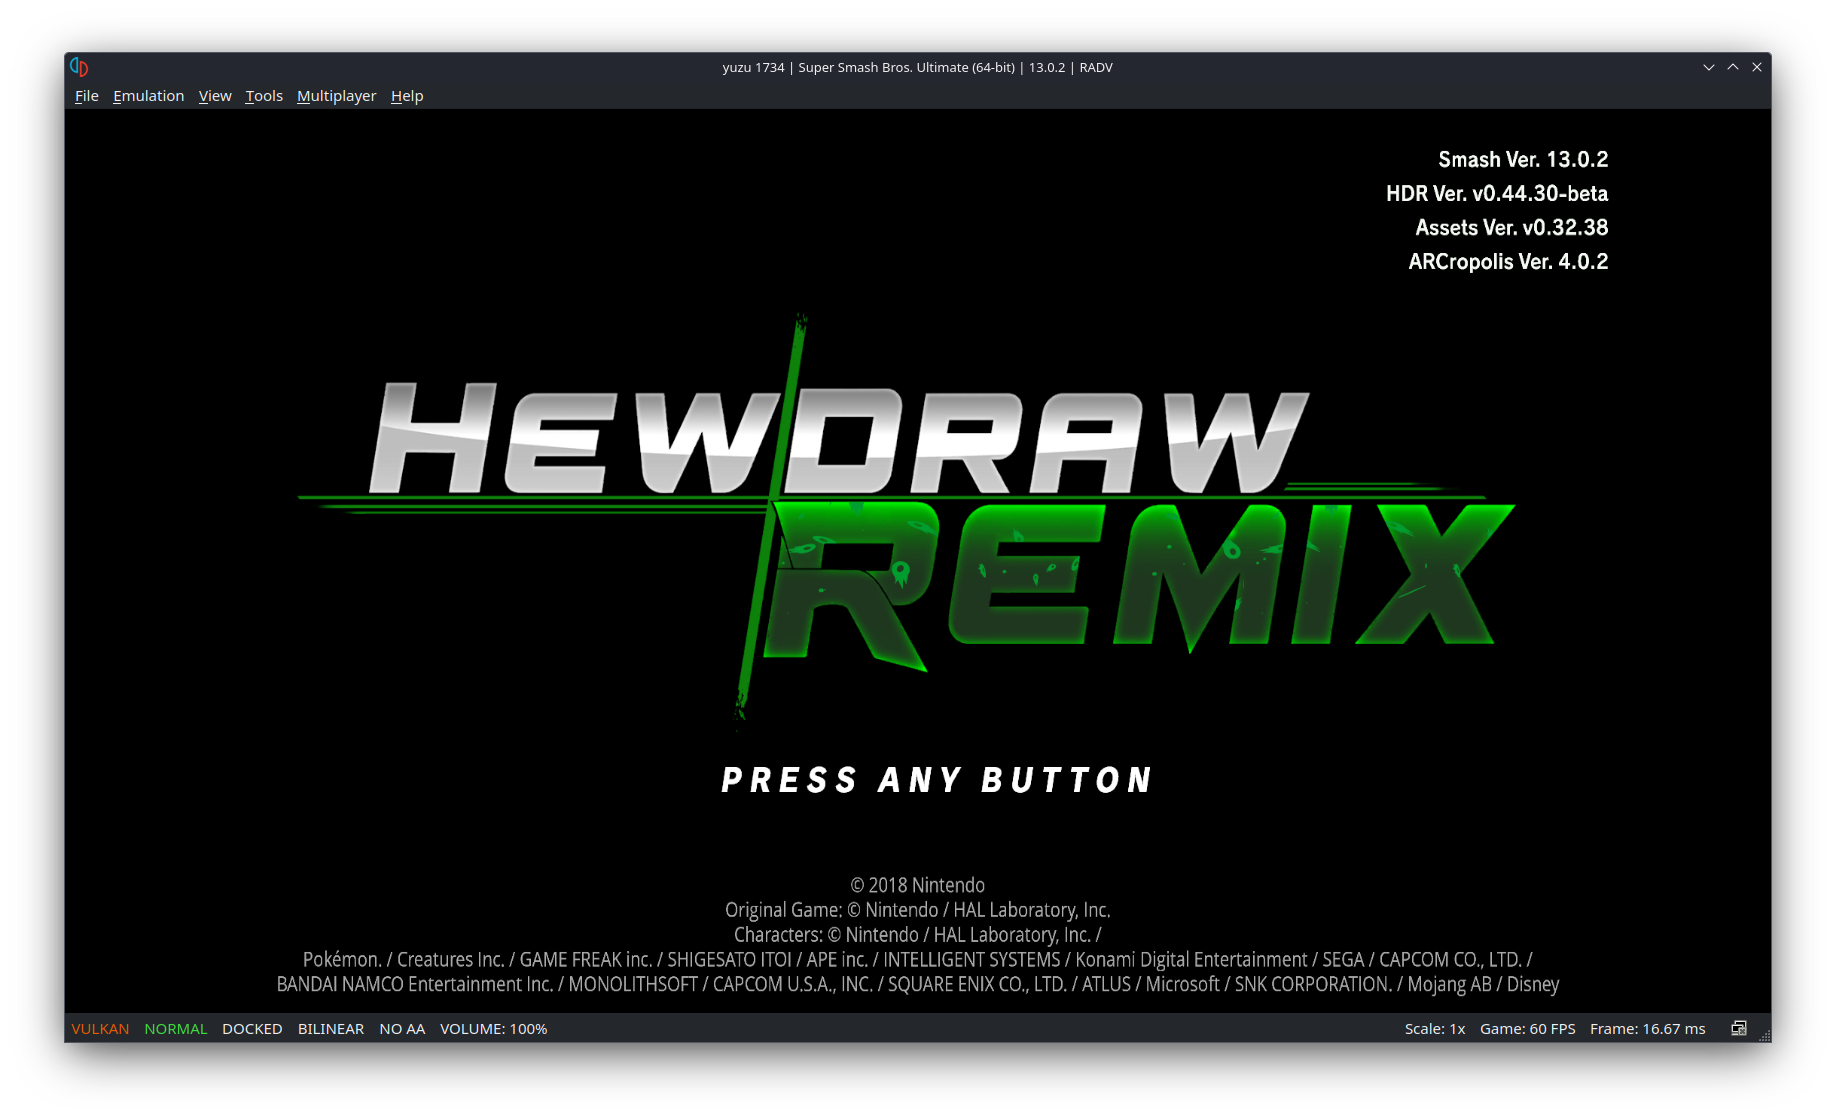
Now run Smash Ultimate again. HDR should now be working properly!
If you like you can add the HDR Launcher as a shortcut to your desktop and Applications menu with the “Shortcut” option in the script.
(Optional) Configure Settings
Note that, for the section below, you’ll only need to follow this if you’re on Linux desktop, or if for some reason you decided not to download the pre-configured Steam Deck template from the step above.
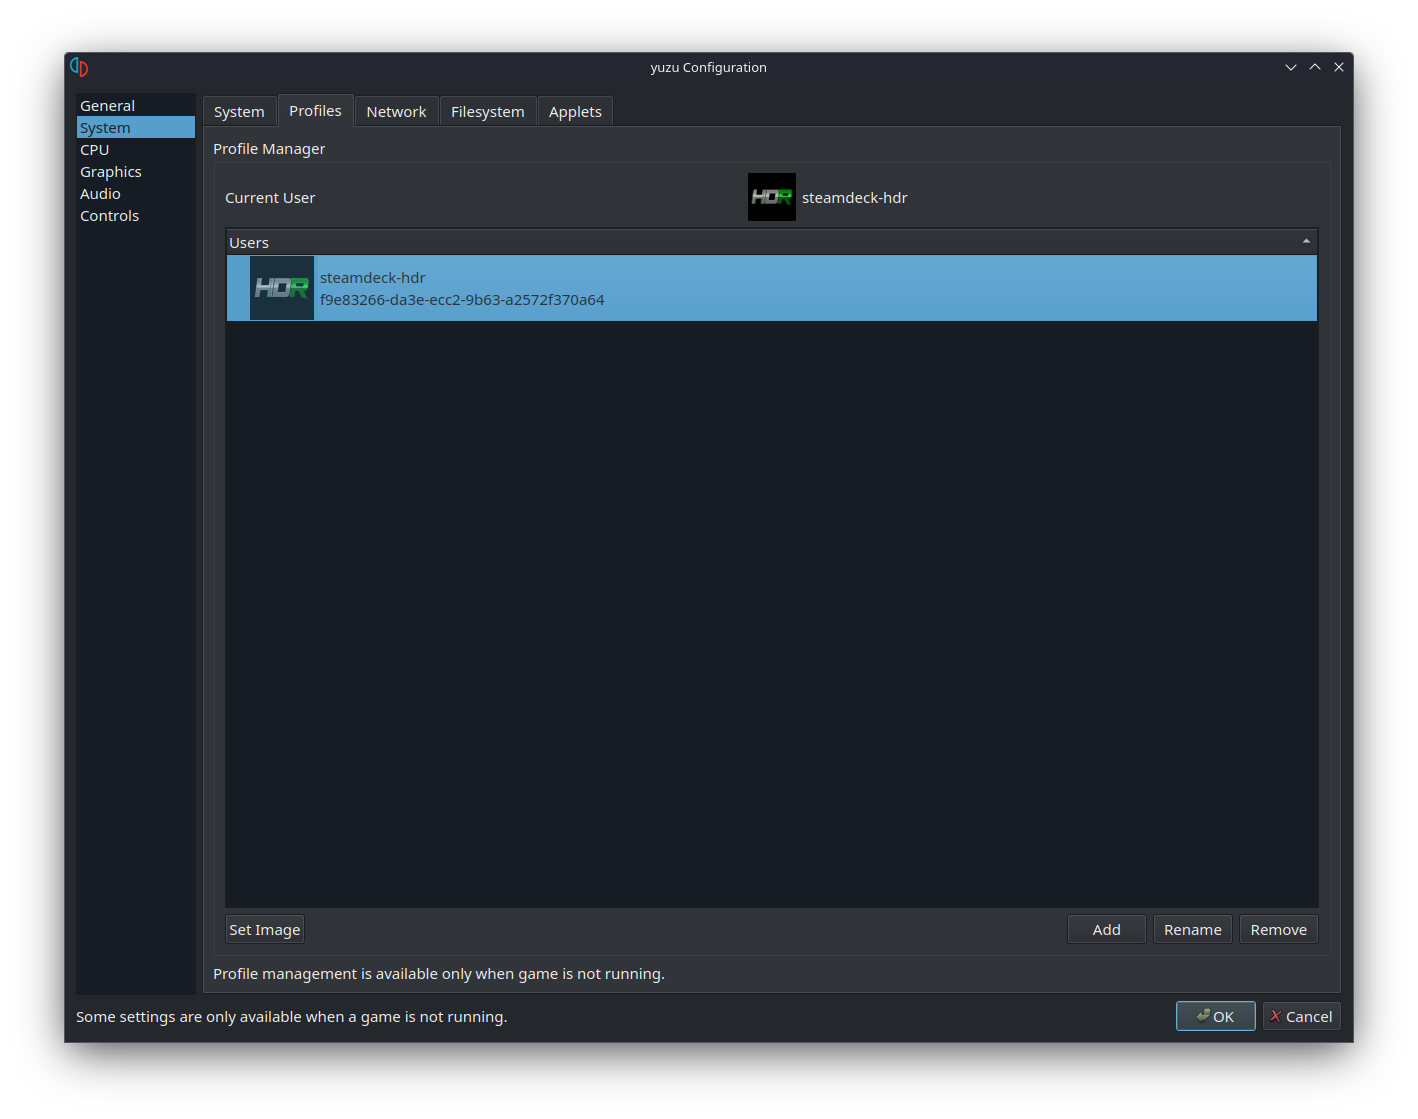
Go to Emulation -> Configure. Go to the “System” section. In the Profiles tab, rename the “yuzu” profile to something you prefer.
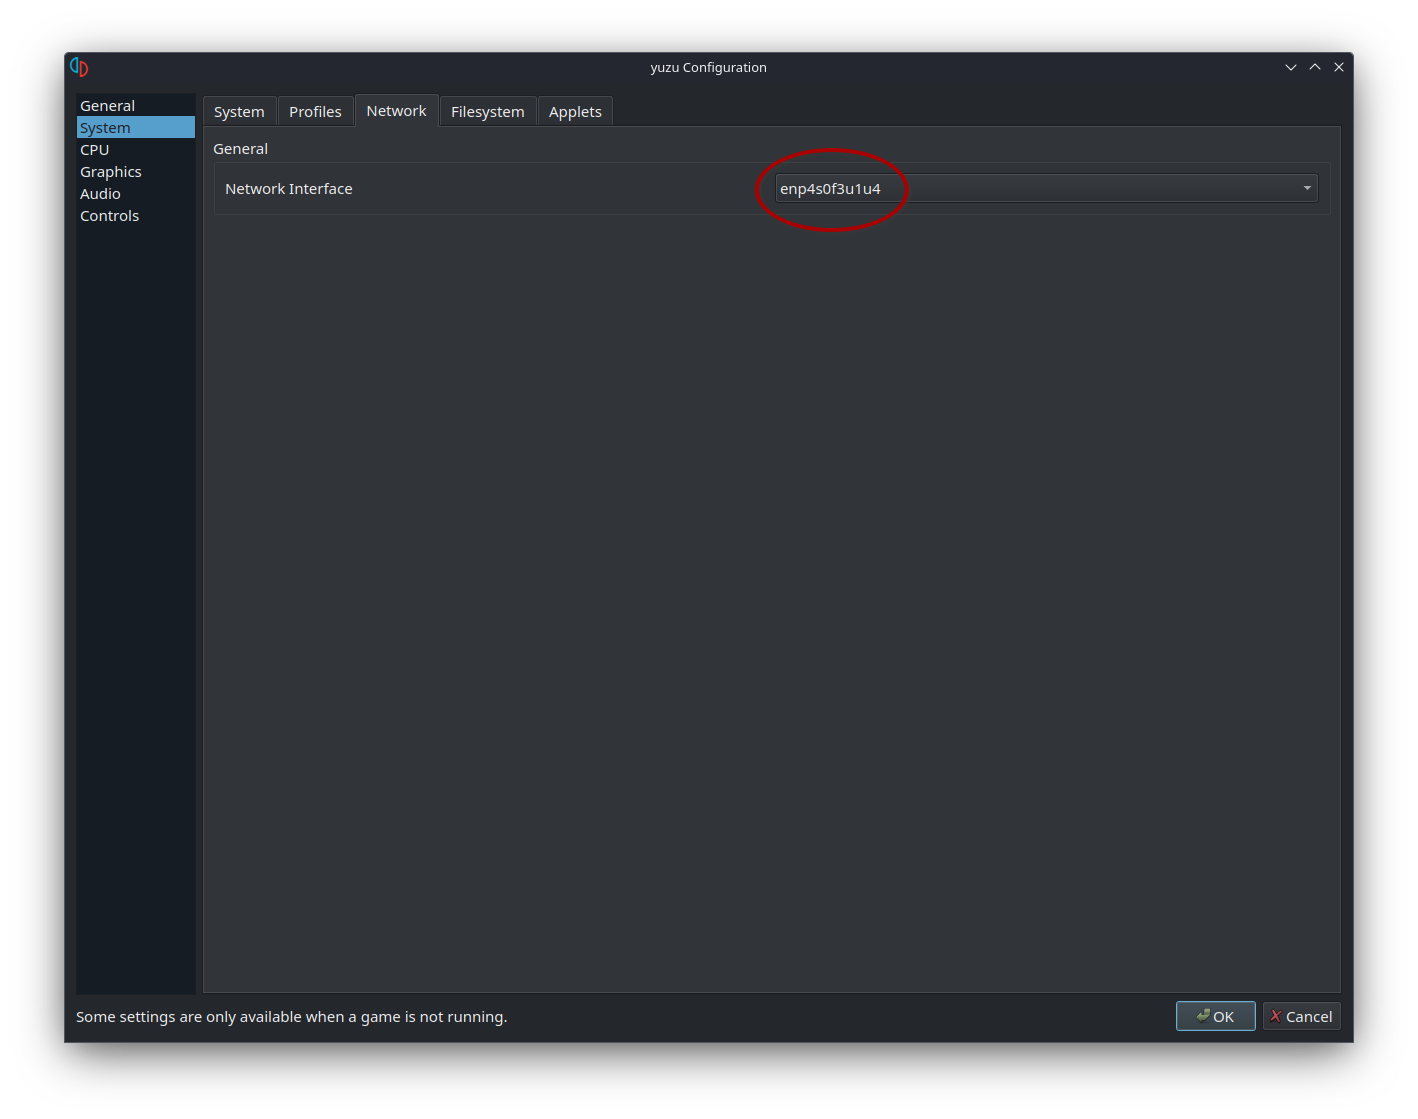
In the Network tab, set the Network Interface to whatever Internet connection you’re using.
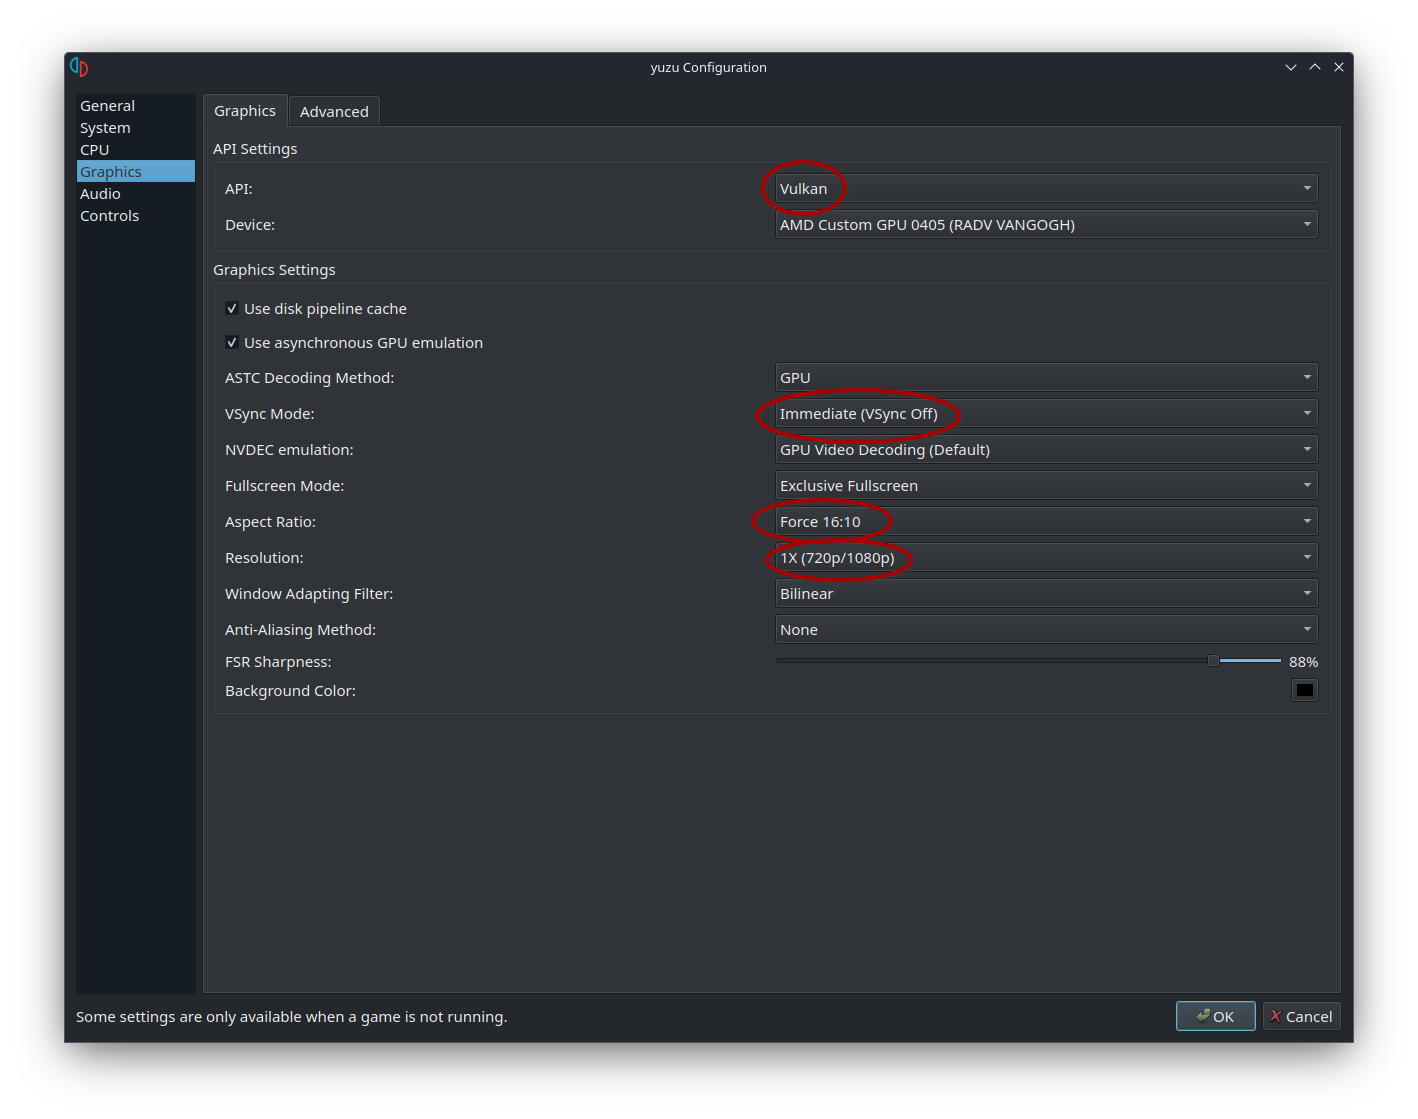
In the “Graphics” section, ensure Vulkan is being used as the API. Disable vsync. Change the aspect ratio to 16:10 if you’re playing in handheld mode. Increase the resolution as needed if you’re playing while docked to an external monitor.
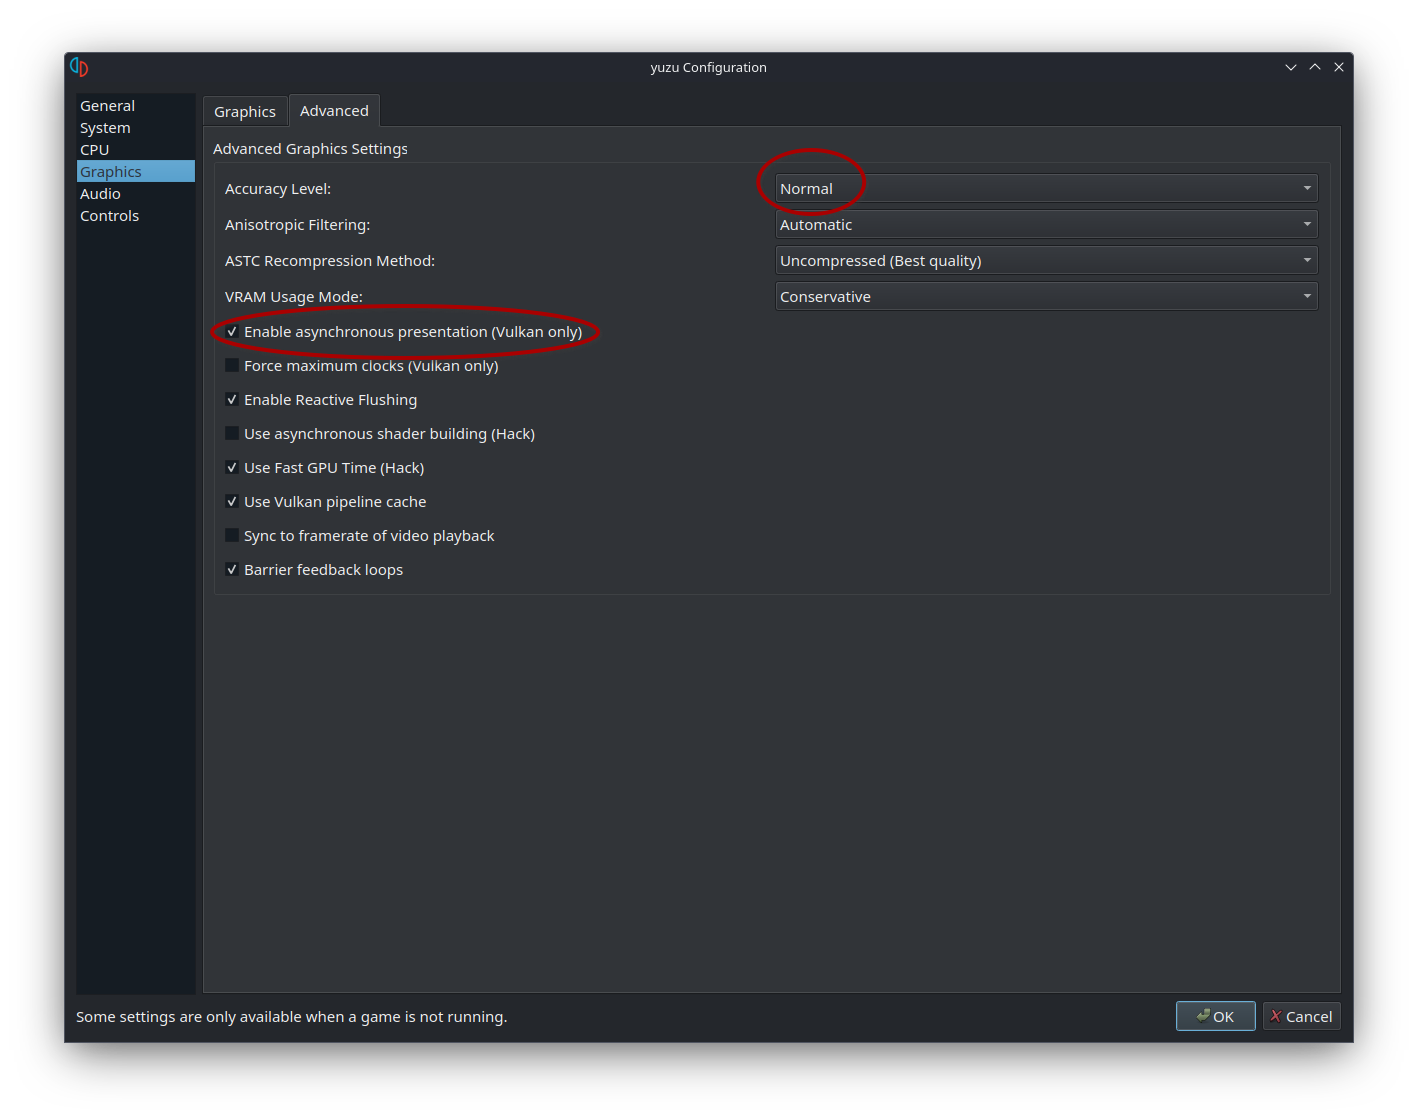
In the “Advanced” tab of the same section, set the accuracy level to Normal. Check “Enable asynchronous presentation (Vulkan only)”.
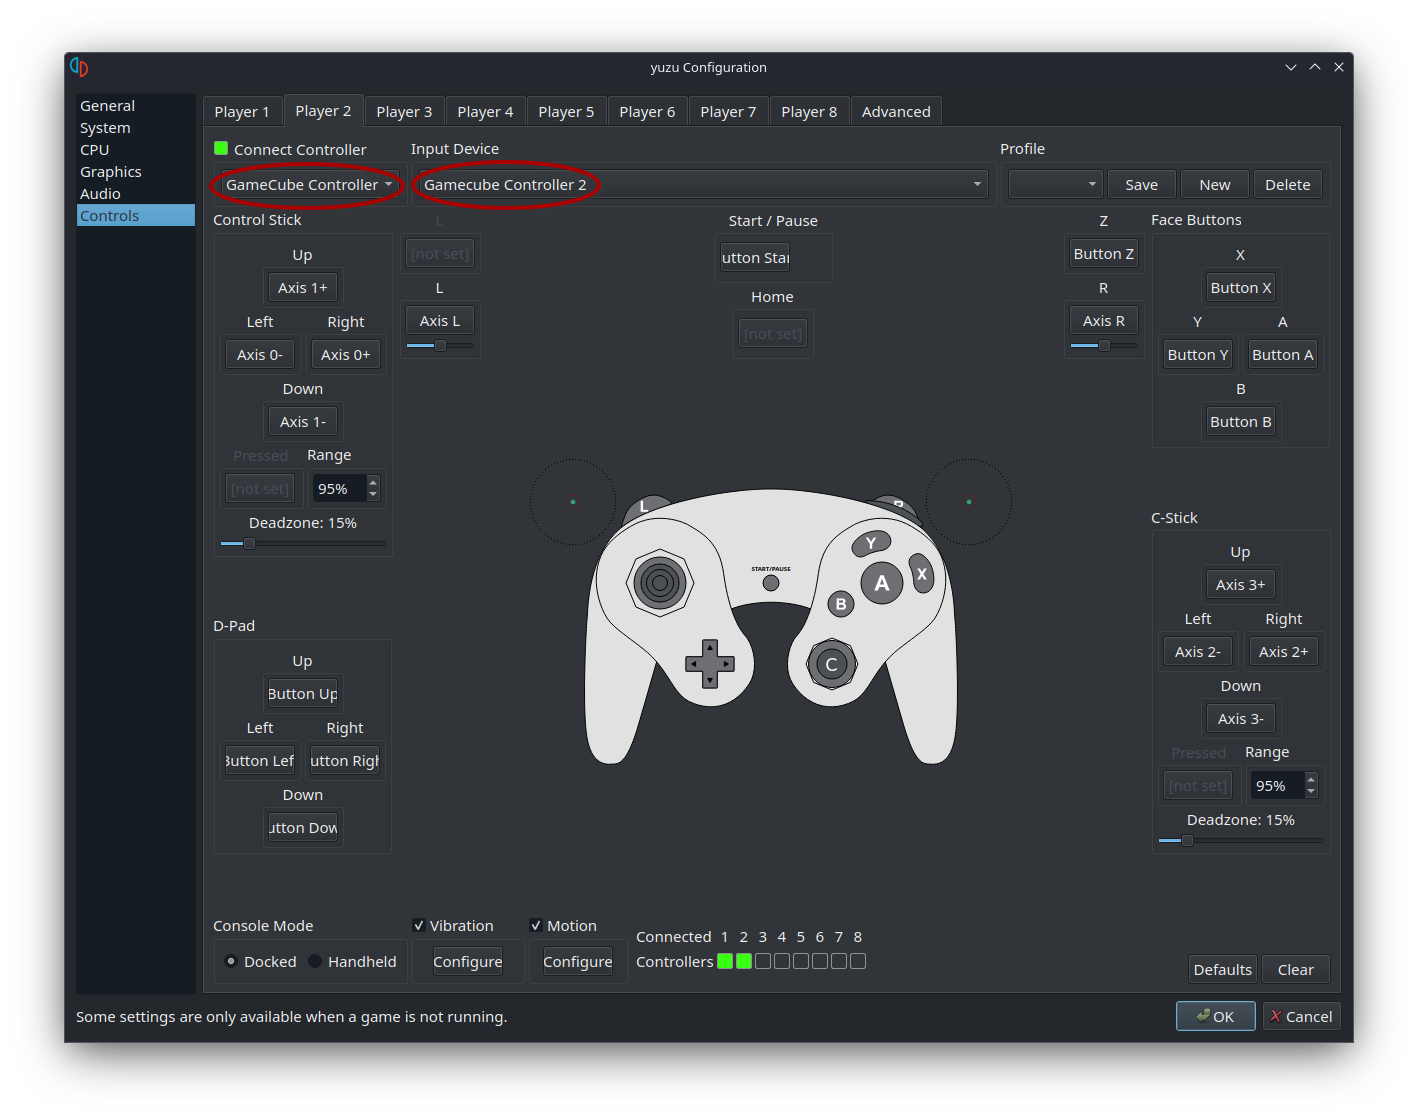
Finally, under the “Controls” section, configure your controls as needed. If you have a GameCube controller adapter, make sure it’s set to Wii U/Switch mode. Change the controller to “GameCube Controller” from the drop-down menu on the top-left, then select your GCC from the Input Device list. Note that if you’re using the Deck’s built-in controls, you may need to add Yuzu to Steam and launch Yuzu from there, set your controller to “Pro Controller”, and set the input device to the appropriate one.
Click “OK” when all is said and done.
Tips and Tricks
Add to Steam
You can add the HDR Launcher to Steam by simply right-clicking the AppImage found in ~/Applications/HDR/ and selecting the appropriate option in the context menu.
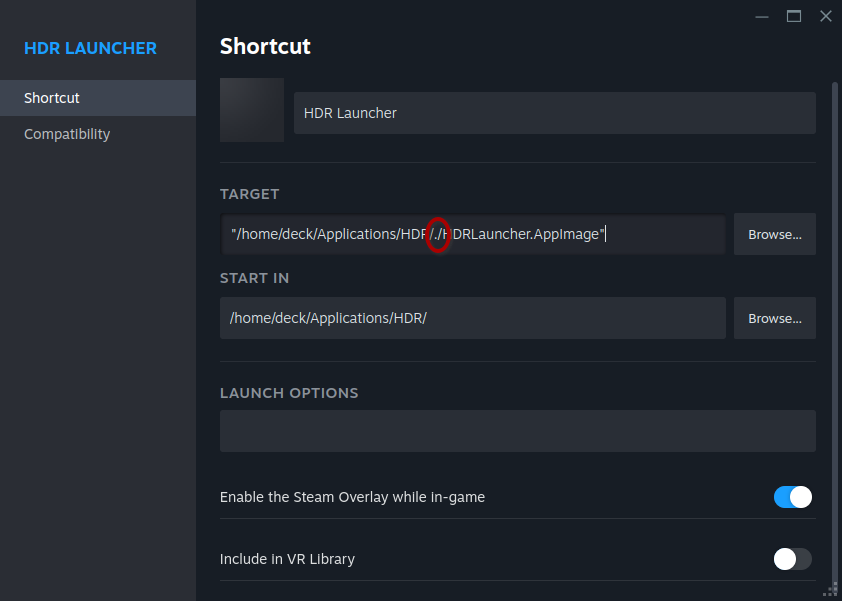
You may have to edit the “Target” path if it doesn’t run. Simply add “./” before the AppImage, so it’s something like this:
"/home/deck/Applications/HDR/./HDRLauncher.AppImage"
Overclock the GCC Adapter
If you’re using a GameCube controller, I highly recommend overclocking the adapter for a more responsive input to your controls.
Need Help?
Join my Discord and I’ll see if I can help you out.
That’s it for this part of the guide. In the next part, we’ll go over online multiplayer!
Special thanks to frozeninferno for helping me work out the kinks with the save data extraction.
